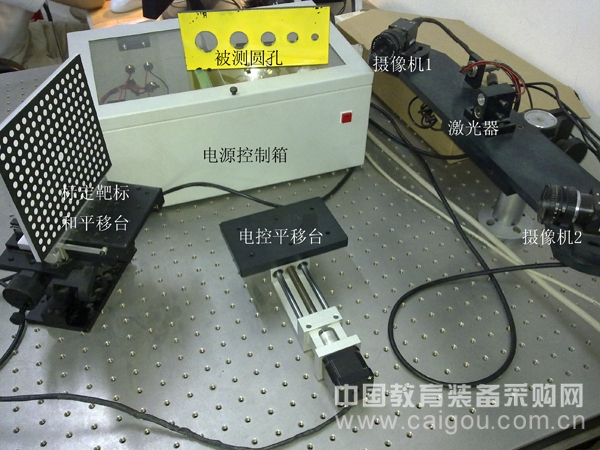
Visual Image Measurement Integrated Teaching Experiment Platform: Function and Introduction This comprehensive teaching platform is designed to provide hands-on experience in visual measurement techniques. It includes an adjustable bracket, two CCD cameras, two semiconductor lasers, a calibration target, a measured circular hole, a precision translation stage, an electronically controlled translation stage, a laser and translation stage control box, as well as a computer and specialized software. 1. Monocular Camera Calibration Experiment This experiment helps students understand the camera perspective transformation model and differentiate between internal and external camera parameters. Using the two-step calibration method proposed by R. Tsai, a planar circular hole target is used to generate non-coplanar points. The target is placed on a precision mobile stage so that it lies within the camera's field of view and depth of field. By moving the target across multiple positions, students can collect images, extract pixel coordinates, and establish a spatial coordinate system. This process allows for accurate calibration of camera parameters, and automation is achieved through mark circle positioning and computer-controlled movement of the target. 2. Binocular Camera Calibration Experiment This experiment introduces the principle of binocular camera calibration, enabling students to connect two cameras within the same world coordinate system. After calibrating each camera individually using monocular methods, the circular target is positioned between both cameras. Students then collect images from both cameras and calculate the rotation matrix and translation vector, which are essential for aligning the two cameras in 3D space. 3. Diameter Measurement of a Circular Hole Using Binocular Vision This experiment demonstrates the importance of camera calibration in visual measurement systems. Students learn digital image processing techniques and explore how different binarization thresholds affect the accuracy of diameter measurements. By placing the hole between two cameras and using structured light, students capture images, identify feature points, and calculate the 3D coordinates of the hole’s edges. A circle is then fitted to these points to determine the diameter accurately. 4. Line Structured Light Surface 3D Measurement This part of the experiment teaches students the basic principles of surface 3D measurement using line-structured light. By scanning the object with a fixed light plane and camera, students gain practical experience in extracting light stripe centers and processing images. The passive scanning mode simplifies the calibration process, making it more efficient and less error-prone. Name of the Work: Comprehensive Teaching Experiment Platform for Visual Image Measurement Unit of Completion: National Experimental Teaching Demonstration Center for Precision Instrument and Photonics, Tianjin University
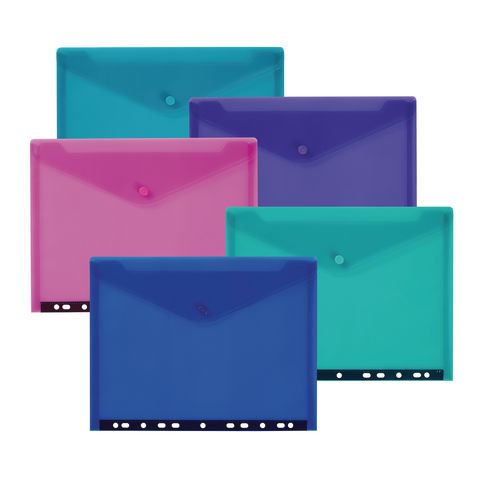
Filing bags are a simple and practical stationery.There are A4,A5,A6 and other sizes, as well as single pocket, multi-pocket and other options.Snap bag has snap closure, Velcro closure, elastic rope closure and other ways.Suitable for school students to store learning materials.Suitable for office staff to store a variety of office materials, in the study and office has a wide range of applications.The material of button bag is PP, PVC, EVA and so on, which is easy to carry
Filing Envelopes,Kraft Paper Filing Envelopes,Document File Bags,Filing Paper Bag Envelopes shaoxing chaofeng stationery manufacturing CO.,LTD. , https://www.chaofengstationery.com
